If you read our guide to laying laminate flooring you will have a good idea of what it takes to install tile flooring. The process is very similar to laying laminate with removing moldings, cleaning the floors, marking space for expansion gaps, and loosely laying tiles to map out the room. While tile isn’t quite as affordable or easy to install as laminate, it has huge benefits. Tile is extremely durable, low-maintenance, and waterproof, making it the perfect choice for many bathrooms and kitchens.
Higher Scratch Proof
100% Water Resistant
More Durable than Laminate
Easy to care for...
Material & Tools
Cement backer board
Utility knife
Bucket
Drill with mixing paddle
Thin-set mortar
Tile trowel
Stone or ceramic tiles
Chalk
Tile spacers
Measuring tape
Level
Rubber mallet
2×4 scrap wood
Tile cutter (manual snap cutter, electric wet tile saw, or tile nipper)
Sponge(s)
Grout
Preparing the Floor
Unlike laminate which can be placed right over existing floorings, laying tile requires a hard, level, and moisture-resistant surface. Once you’ve removed your existing floor and cleaned the area where you’ll be installing the tile, you should lay the backer board. Backer board provides an even, protective, and moisture-resistant surface for the tile. It must adhere to your subfloors with mortar. Follow the package instructions to mix your thin-set mortar in a large bucket using a drill with a mixing paddle. You will want to mix the mortar in small batches throughout the project because it hardens quickly. You should use a utility knife to score the backer board, so it can easily be snapped to size. Trowel a thin layer of mortar under and between each sheet of backer board, filling about a ⅛” gap between boards. You should also use nails or screws every 6-8” to secure the backer board to your floors.
Test the Layout
Once the backer board is down, you are almost ready to start laying tile. To prevent making any mistakes you should test the layout of your tile. Don’t forget to leave about a ¼” (or the tile manufacturer’s recommended) expansion gap around the perimeter! Starting near the middle of a wall, lay a single row of tiles, working outward in both directions. Insert spacers between the tiles. When you near the end of the row and there is not enough room for a full tile, measure the space and transfer that measurement to a tile. If the space is smaller than ⅓ of the tile, you will want to adjust the row in one direction to fit a larger piece of tile. The smaller you have to cut the tile the more you risk hurting yourself, cracking the tile, and prolonging the project. Once you have a good layout for the first row, use the chalk to trace the row onto the backer board. Do not use a pencil or pen, as you will likely poke holes in the backer board.
Test the Mortar
The consistency of the mortar is extremely important for adhering the tile to the subfloor! To test the consistency of your mortar you should use your trowel to scoop the mortar and start spreading the mortar by pressing the mortar into the backer board or subfloor at a 45° angle. You will want to work in small sections throughout the project, so keep your test area just an inch larger than one tile. Make sure you use the side of the trowel with teeth to make straight grooves. Push the test tile down into the spread mortar, then using slight downward pressure, slide the tile back about ¼” and then back into the place where you first laid it. Pull the tile up and make sure the back is fully coated in mortar. If it is not fully covered, you didn’t mix the mortar properly, didn’t spread the mortar evenly, or waited too long to set your first tile and the mortar started to dry. You may need to dampen the backer board using a spray bottle of water or a wet sponge. Otherwise, the backer board will soak up water from the mortar, causing the mortar to dry too rapidly. Make adjustments as needed until your mortar fully and evenly covers the back of your test tile.
Laying Tile
Following your chalk outline, you can begin laying your tile. Work in small (4-foot or less) sections, spreading your thin-set mortar with straight grooves. Work your way from a far wall to the outside of the room because you should not step on any of the tiles until the mortar has fully set. Push the tiles downward into place and attach 2 tile spaces between tiles to keep the spacing consistent. If any mortar gets on top of your tiles, you will want to wipe them down with a wet sponge or rag right away. You should ensure the tiles are level as you work. Every few feet, you should lay your level across the floor. If the tiles aren’t level, lay a 2×4 across the tiles and tap the board with a rubber mallet to push the tiles down into the mortar. Following this process, lay full tiles throughout the room. Don’t worry about tiles that need to be cut to size until after all the full tiles are laid and the mortar is dry. Most mortar takes about 24 hours to completely dry.
Cutting Tile
To finish laying the tile you will need to cut tiles to fit around the perimeter of the room. Layout the tiles, measure twice, and mark the tiles with chalk where you will cut. The method for cutting your tiles will depend on the type of tile cutter you choose to use and may require further research if you have never cut tile before. For large rooms, you will likely want to use a wet tile saw to work more quickly. Wet tile saws can be rented from hardware stores like The Home Depot or Lowes.
Grout & Seal
Once the entire room is tiled and all of the mortar has dried, you should remove all of your tile spacers. Follow the package instructions to mix your grout then spread the grout evenly across your new floor, moving in long arcs with your trowel at a 45° angle. Working in 4-foot sections fill all the gaps and wipe your tiles down with a damp sponge. You will want to rinse the sponge often and may need to use a grout haze remover solution to fully clean all of the grout from your tiles. The grout will take 24-72 hours to fully dry so try to avoid walking on the tiles during that time. If you are tiling a bathroom or want to keep your tile and grout in great condition for years to come, you will want to seal your grout. Grout sealer is easily applied with a thin paintbrush and will keep your grout clean and water-resistant. When the grout and sealant are both dry, you have successfully tiled a room and can reinstall your baseboards and trim.
Sound Like too Much?
If laying tile sounds too time-consuming or difficult for you, you can contact Clayton Hoover & Sons to have the job done by the professionals.
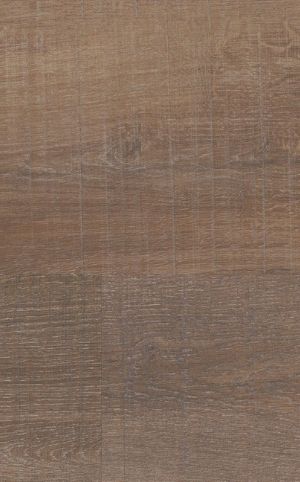
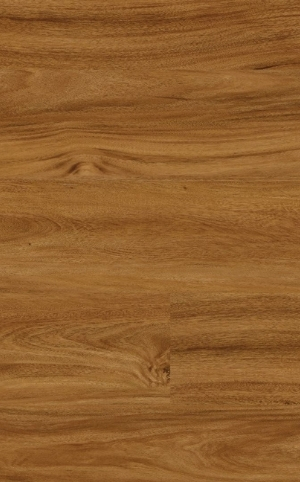
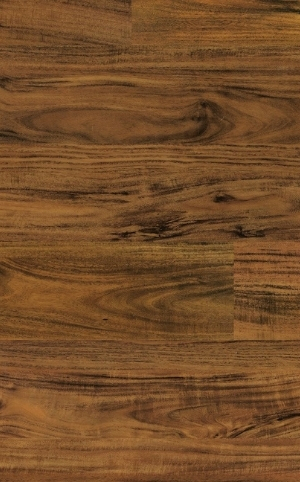
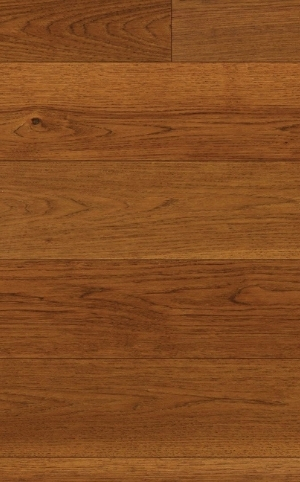
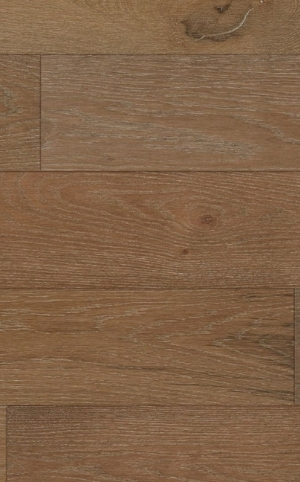
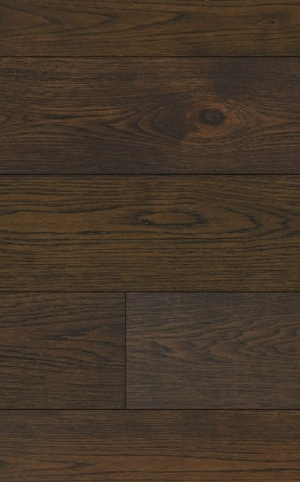
Which grain is right for your home or business?
Where you live and work can be many things. Considering the amount of time you spend there, you might as well make it your own. Find the grain that speaks to you! We’re happy to bring samples for an in-house consultation. You won’t believe how real this material feels!
Fascination Oak
Let’s Talk! 574-288-8630
Vela
Let’s Talk! 574-288-8630
Lynx
Let’s Talk! 574-288-8630
Adelaide Walnut
Let’s Talk! 574-288-8630
Alice Springs Acacia
Let’s Talk! 574-288-8630
Archer Hickory
Let’s Talk! 574-288-8630
Fawn Hickory
Let’s Talk! 574-288-8630
Linden Oak
Let’s Talk! 574-288-8630
Finn Oak
Let’s Talk! 574-288-8630
Kai Hickory
Let’s Talk! 574-288-8630
Let's talk! We'd love to show you these materials in person.