You don’t have to be a professional to install laminate flooring! With the proper tools and time to spare, this modern alternative to wood or tile flooring can be quickly and easily installed by just about anyone.
Get the right tools
Plan ahead
Understand your existing limitations
Call if you need a second opinion: 574-288-8630
Material & Tools You’ll Need:
Laminate flooring
Underlayment and tape
Scrap wood spacers
Utility knife
Hammer
Tapping block or pull bar
Rubber mallet (optional)
Tape measure
Pencil
Table saw, circular saw, jigsaw, or handsaw
Baseboard and Trim Removal
Before you jump right into installing the new flooring, you will need to remove the baseboards and trim. Laminate can go right on top of hard flooring, but make sure the existing flooring is smooth, level, and clean. Then you can begin test fitting the boards. Without locking the boards together or walking on them, you will want to layout enough planks to get a sense of the layout. Lay the planks out end to end against a wall, then build off of that strip with staggered boards going the length of the room. You will still have to do some measuring before you start cutting boards to fit the puzzle together, but test fitting will give you a good idea of how many planks you will need and how the finished project will look.
Lay the Underlayment
Move the planks out of the way and start laying the underlayment. Make sure the sheets of underlayment are touching but not overlapping so that you can tape the sheets together while keeping the floor as level as possible for the laminate. Using a utility knife, trim the underlayment to fit against the perimeter of the room. Read the manufacturer information on your laminate to find how much expansion gap is required. Use scrap wood as spacers around the entire edge of the room to give the laminate room to settle and expand once the floor is laid. Then you can begin laying the laminate flooring. For the first row, you will want to cut off the tongues of the planks and lay the rough edges along the longest wall of the room. You can cut the tongues off with a table saw, circular saw, or even a utility knife, just be careful!
The First Row
Lay the first row of boards end-to-end, working from left to right. Some laminate flooring has tongue and groove on all four sides of the planks, whereas others only secure on the sides of the planks. If your laminate does have tongues and grooves on the ends you will need to tap each board of row one into place with a hammer and tapping block or a rubber mallet to secure the planks together. The last board of every row will likely need to be cut. Use a tape measure to measure the space left to fill for the first row. Transfer that measurement to a full plank using a pencil to draw a straight line, and cut it to size. After tapping the cut piece into place, you have completed laying the first row of your new flooring.
The Next Row
Since the tongues were cut from the first row of boards, you will need to secure the tongues of the second row into the grooves of row one. Start row two with the leftover piece of the cutting from the end of row one, working in the opposite direction. By alternating working left to right and right to left, you will save your steps, work more quickly, and ensure a staggered pattern. This process will repeat for the rest of the room. Be sure you are completely securing each board, tapping it into place flush with the neighboring planks.
The Last Row
The last row of boards will likely need to be ripped to fit the room. Mark planks for tearing, keeping in mind the 1/4-inch (or manufacturer-recommended) expansion gap between the flooring and the wall. Using a circular saw, table saw, or jigsaw, rip the final row of planks. Because you’re working against the wall, the last row of boards can be difficult to install. You should be able to tilt the board up sufficiently to lock it into place. Once the last row is complete you can remove all of the spacers and reinstall the baseboards. The molding should hide all of the expansion gaps. Then you are officially done. Step back and admire your hard work!
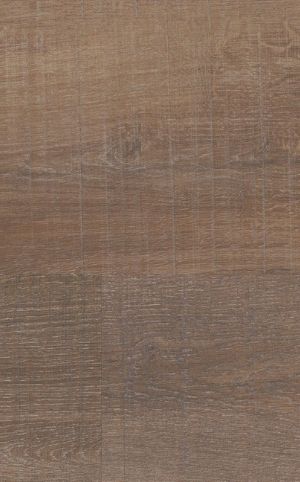
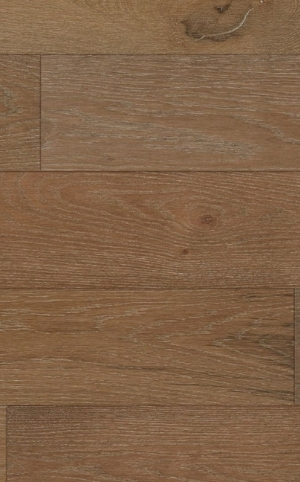
Which grain is right for your home or business?
Where you live and work can be many things. Considering the amount of time you spend there, you might as well make it your own. Find the grain that speaks to you! We’re happy to bring samples for an in-house consultation. You won’t believe how real this material feels!
Fascination Oak
Let’s Talk! 574-288-8630
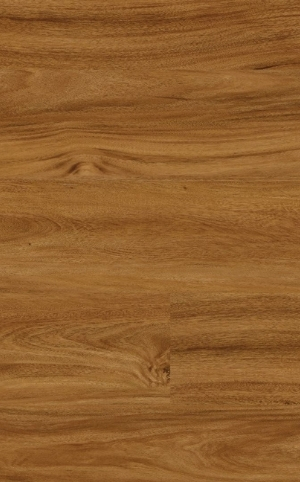
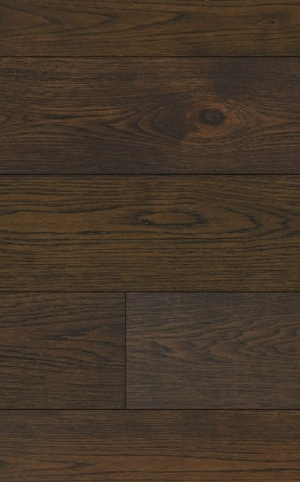
Vela
Let’s Talk! 574-288-8630
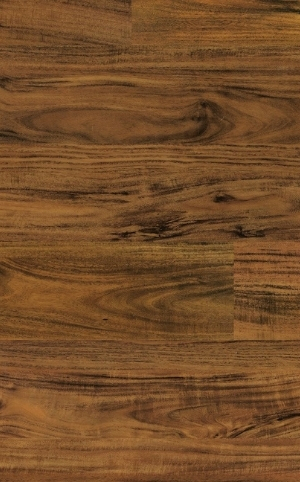
Lynx
Let’s Talk! 574-288-8630
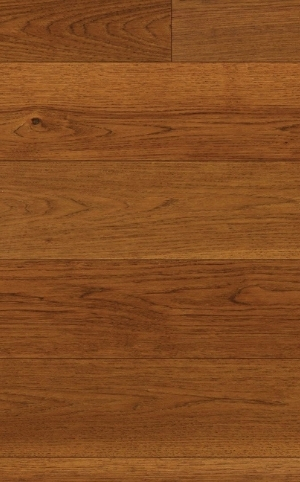
Adelaide Walnut
Let’s Talk! 574-288-8630
Alice Springs Acacia
Let’s Talk! 574-288-8630
Archer Hickory
Let’s Talk! 574-288-8630
Fawn Hickory
Let’s Talk! 574-288-8630
Linden Oak
Let’s Talk! 574-288-8630
Finn Oak
Let’s Talk! 574-288-8630
Kai Hickory
Let’s Talk! 574-288-8630
Let's talk! We'd love to help you with your remodeling project!