

The Ultimate Guide to Repair Roof Vents
If you’re like most homeowners, you probably don’t give much thought to your roof vents. But if they become damaged, it can cause big problems for your home. In this article, we will teach you how to repair roof vents properly. We’ll cover everything from identifying the problem to fixing it permanently. So whether you’re a homeowner who wants to take care of the repairs yourself or a contractor who needs to know how to fix them properly, this is the guide for you!
How Roof Vents Work
The first step in repairing roof vents is understanding how they work. Roof vents are an important part of your home’s ventilation system. They help to remove hot air and moisture from the attic, which can prevent mold and mildew from growing. Without proper ventilation, your attic can become a breeding ground for pests and other problems.
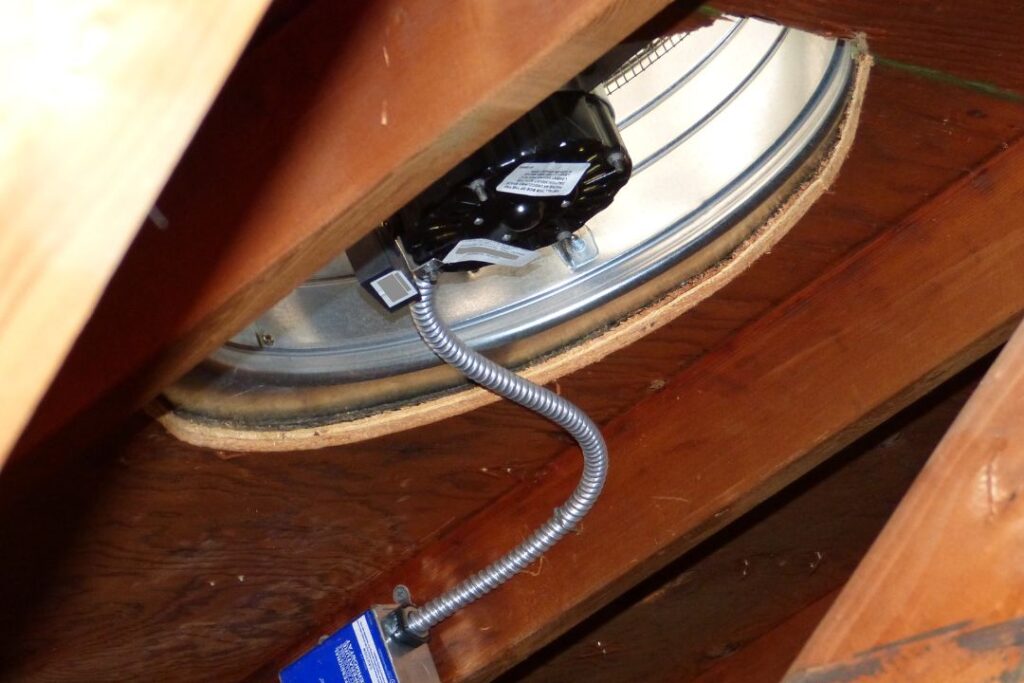
There are two types of roof vents: static and power.
- Static vents are the most common type of vent, and they rely on natural airflow to work properly.
- Power vents use a fan to force air through the vent, which is more effective but also more expensive.


Identifying The Problem
Once you understand how roof vents work, you need to be able to identify when there’s a problem. One of the most common problems with roof vents is that they become clogged with debris. This can happen if there are a lot of leaves and twigs around the vent, or if the vent itself is damaged.
Another problem that you might encounter is that the vent cover becomes loose. This can happen due to weather damage or simply because the screws have come loose over time. Either way, it’s important to fix this problem as soon as possible, as a loose cover can allow water and pests into your home.
Fixing A Clogged Roof Vent
The first step in fixing a clogged roof vent is to remove the debris that’s blocking it. You can do this by hand, or you can use a small brush to help loosen everything up. Once the debris is removed, you can vacuum out the vent to make sure that all of the particles are gone.
If the clog is severe, you might need to use a plunger to get rid of it. Simply place the plunger over the vent and push and pull until the clog is gone. You might need to do this a few times to get rid of everything.
Fixing A Loose Roof Vent Cover
If your roof vent cover is loose, you’ll need to tighten or replace the screws that are holding it in place. Start by removing all of the old screws and then clean out the holes with a wire brush. This will help ensure that the new screw will go in easily.
Once you’ve done that, you can screw in the new screws. Be sure to use screws that are long enough to go all the way through the vent cover and into the sheathing beneath it. You might need to use washers on the screws to make sure that they’re secure.
Replacing A Roof Vent
In some cases, you might need to replace your roof vent entirely. This is usually only necessary if the vent is severely damaged or if it’s not functioning properly. To do this, you’ll first need to remove the old vent. Start by taking out all of the screws that are holding it in place. Once you’ve done that, you can pull out the old vent and dispose of it properly.

Installing A New Roof Vent
To install a new roof vent, you’ll need to measure the hole that’s left behind. This will help you to choose the right size vent for your home. Once you’ve done that, you can place the new vent into the hole and screw it into place. Be sure to use screws that are long enough to go all the way through the vent and into the sheathing beneath it.
You might need to put caulk around the edges of the new vent to help seal it in place. Once you’ve done that, you can replace any insulation that was removed when you took out the old vent.
Testing The Repair
Once you’ve finished repairing or replacing your roof vents, it’s important to test them out to make sure that they’re working properly. The best way to do this is to wait for a windy day and then go into your attic to see if the vents are doing their job.
If you don’t have any wind, you can also turn on a fan in your attic and see if the air is moving through the vents as it should. Either way, you should be able to tell pretty quickly whether or not your repair was successful.
That’s it! You now know how to repair roof vents. Be sure to follow these tips next time you have a problem with your vents so that you can keep your home in tip-top shape. Repairing roof vents does not have to be complicated. By following these simple steps, you can quickly and easily fix any problems that you might be having.
Want a professional to handle the job? Contact us for a free estimate at ClaytonHoover.com/roofing. We offer CertainTeed® Ridge Vents that hide your ventilation for a seamless look. And with over 75 years of roofing experience, we are the go-to choice for residential and commercial roofing services in the South Bend area! Thanks for reading!