

8 steps to protect your roof
Spring Cleaning the Roof Checklist
Spring cleaning the roof can be challenging and time-consuming, especially if not done regularly. Since it isn’t right in your face like a mess inside your house or in your yard, it’s easy to forget to clean your roof. Even if/when you do think about it, you might not know the to check certain areas of your roof or the steps to clean it.
Since you have to climb onto the roof, it’s best to be able to get all of our spring cleaning the roof checklist tasks done in one go. We’ve gathered this list of things to give care and pay special attention to as you handle your spring cleaning. This checklist can help ensure that everything has been looked over and helps to add a dash of success to this year’s routine, all while protecting your home.
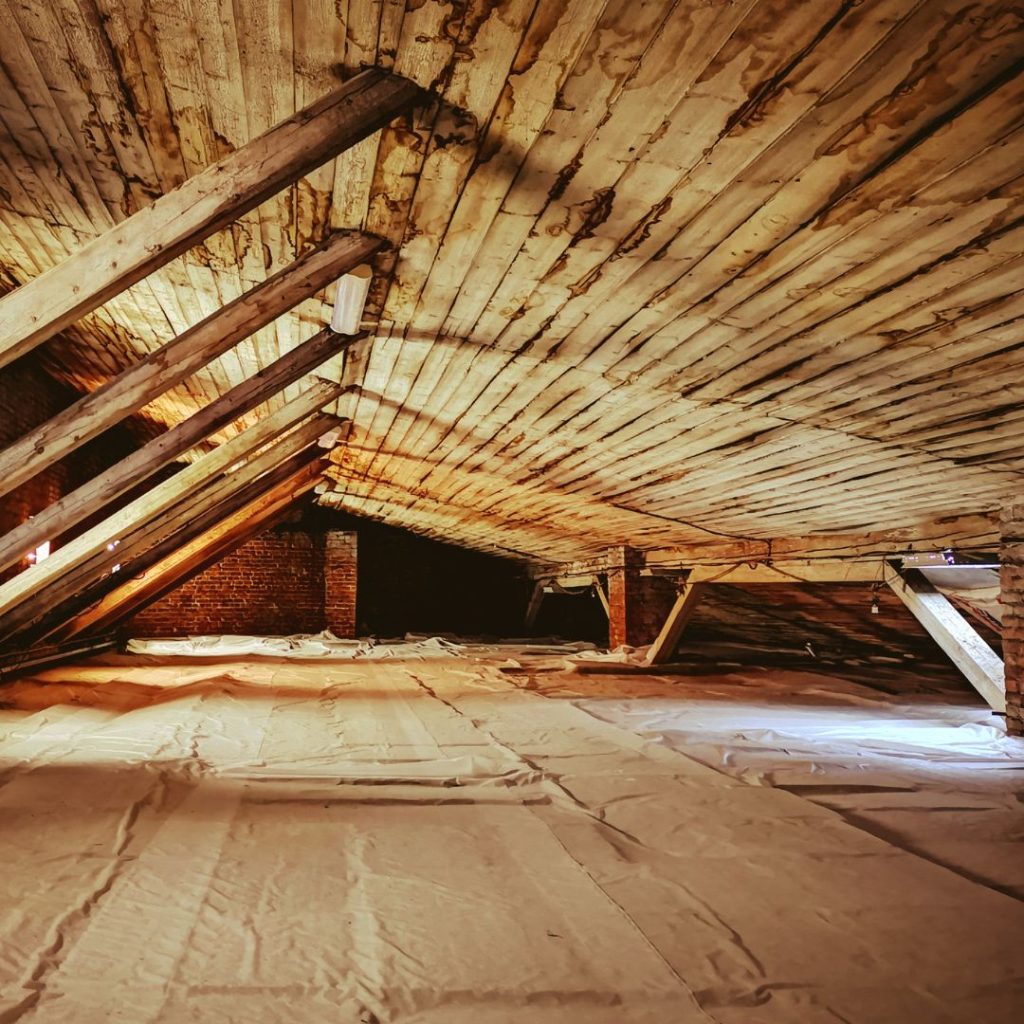
1. The Attic.
Now that winter is over, it’s always a good idea to get onto the roof and see what might be going on after the harsher winter months. However, the first task on this list isn’t just getting the ladder, but actually getting into your attic.
The attic is going to be one of the first places you notice a leak. Check over your attic and look for water spots, condensation, or pooling. Hopefully, everything will be right and dry. You should have ventilation somewhere, and they should be open to allow airflow to keep moisture from building on the underside of your roof and damaging the decking from below. If your attic is all clear, go ahead and get up on the roof. If there is a leak somewhere, you’ll probably want to get something to catch the water before going up to the roof to inspect where the leak may be coming from.
2. Debris.
Once on the roof, you’ll want to clear away any debris that has accumulated. Sticks, branches, and wet leaves can easily collect along corners and crevices, so get out a push broom and clear it all away. If you’re using a push broom, make sure to sweep in the direction your shingles are laying, never sweep against them, as this can cause them damage. Once the debris is cleared away, you’ll have a better view to look over the shingles, and if you had a leak in the attic, try to pinpoint that source.
3. Mold and Moss.
Never let anything grow on your roof or shingles! Fungi and plants hold the water against your shingles and wear them faster over time. You can use a spray from a home improvement store and bristled brush to clear off the shingles or check out our How To Remove Mold From Your Roof article for more ways to clean mold, moss, and mildew from your shingles.
4. Large branches.
If you cleared away large branches, pay special attention to the areas these were. Larger branches are perfect for tearing up your shingles. The fall onto the roof itself can scratch against them, and if they were stuck there and continued to move from being held but in the wind, it could have been repeatedly scratching at some of your shingles. If it over hung, make sure you don’t have any dents or warps in your gutters, as these abnormalities can be the perfect place for dirt and leaves to collect.

5. Gutters.
Speaking of gutters, they are next up on our spring cleaning the roof checklist. We all know gutters catch debris that run off our roof with rain and melting snow. Hopefully, you will have cleaned your gutters out before the fall time was over, but even if you had, it is possible that more leaves, dirt, and debris have blown into your gutters and have been sitting there for months. You can follow the steps in our How To Clean Gutters Like A Pro article to safely and efficiently clean your gutters. As you rinse your gutters, make sure the water moves and drains naturally. As the water drains, double-check that all your downspouts are secured well. During the winter, ice build-up at the bottom of your downspouts can weigh them down or loosen them. If your gutters or downspouts seem to be pulling away, secure them back into place. You can follow our article on Gutters Pulling Away From Your House to learn more about where to check and how to fix sagging gutters. If they won’t realign, it may be time to reach out to Clayton Hoover & Sons for new ones.
6. Check the Shingles.
Now that everything is clean and clear, look over your shingles. We’re sure you’ve been looking them over as you work, but give them one more with full focus. You’re looking for anything cracked, chipped, pulling away, or missing. Hopefully, you’ll see nothing but bright clean shingles! But if you do, don’t worry, we have steps to help with fixing roof shingles too. You can try to do it yourself by following our How To Repair Roof Shingles article or contact us for quick, professional repairs.
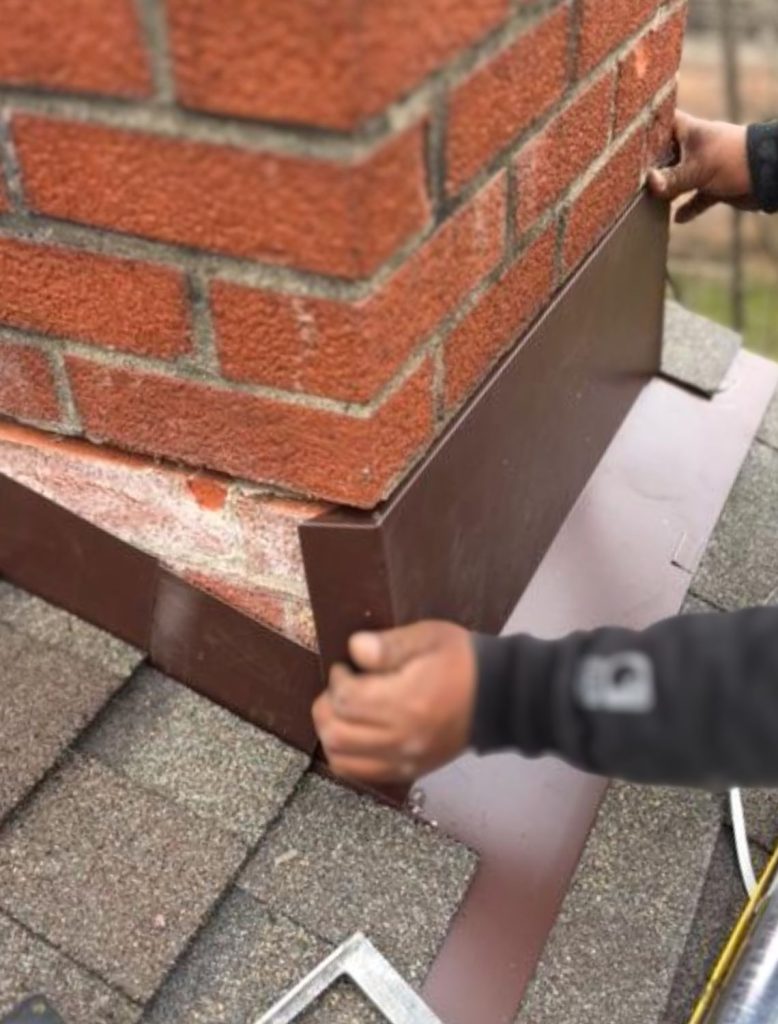
7. Flashings.
Now that your roof is clean and ready to go, look over your flashings and chimneys. Flashings run along roof edges and joints. When installed improperly or if they begin to pull away over time, these gaps can cause water damage to your home. Yes, we have an article on that too. If you notice that your flashings seem loose, follow our Expert Tips to Repair Step Flashings. In addition to checking the flashings around areas where your roof meets siding, you’ll want to check flashings around your chimney and any roof vent pipes you may have. While you’re there, double-checked to make sure your chimney masonry is still sound, vent boots are not dry, brittle, or cracked, and the tops of both chimneys and vents tops all have appropriate caps.
8. Call Clayton Hoover and Sons.
It’s spring, and that means it’s time for a routine roof inspection. It’s recommended that you get an inspection in the spring and fall of each year to keep the integrity of your roof. Hopefully, you’ll have run into no problems while going through our spring cleaning the roof checklist, but if you did, don’t panic. Clayton Hoover and Sons is always here to help you! Serving the South Bend area since 1945, there’s no doubt that we are roofing experts and are here to handle all of your roofing needs.
Contact us today at ClaytonHoover.com/roofing or call 574-288-8630!